

How to set up the Store Switcher
The Store Switcher allows customers to move easily between related voucher stores from the storefront.
You can use it to connect:
Different stores or locations within the same account
Different brands operated by the same business
Different language versions of the same store
Stores are organised into switcher groups, with each group containing at least two stores.
Creating a Store Switcher group
Open the Store Switcher section of your account and select Add group.
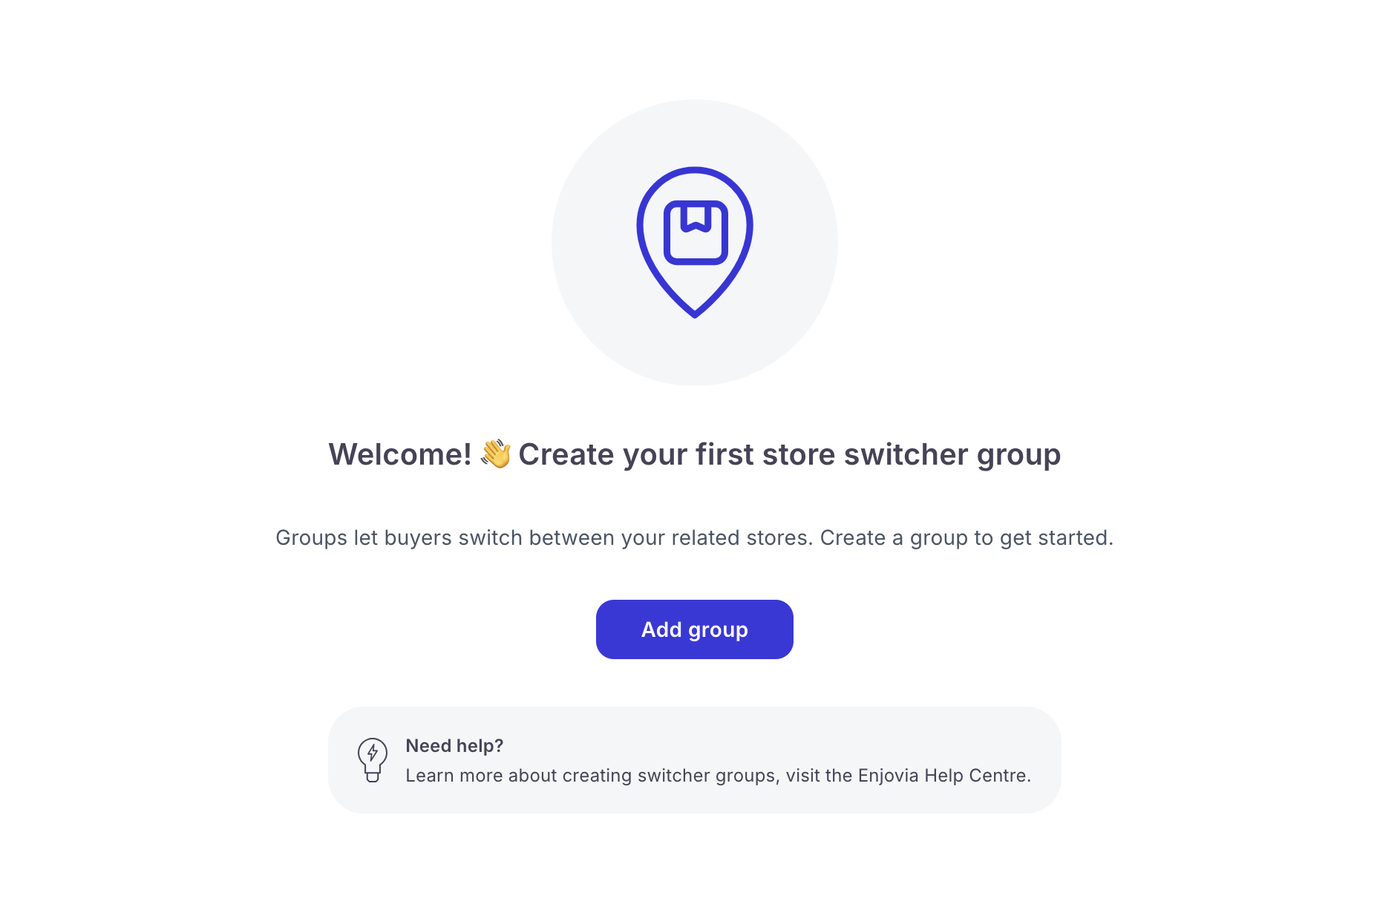
Enter a name for the group. This is used to help you identify and manage the group within your account.
Choose the switcher type
Choose how the switcher group should appear to customers.
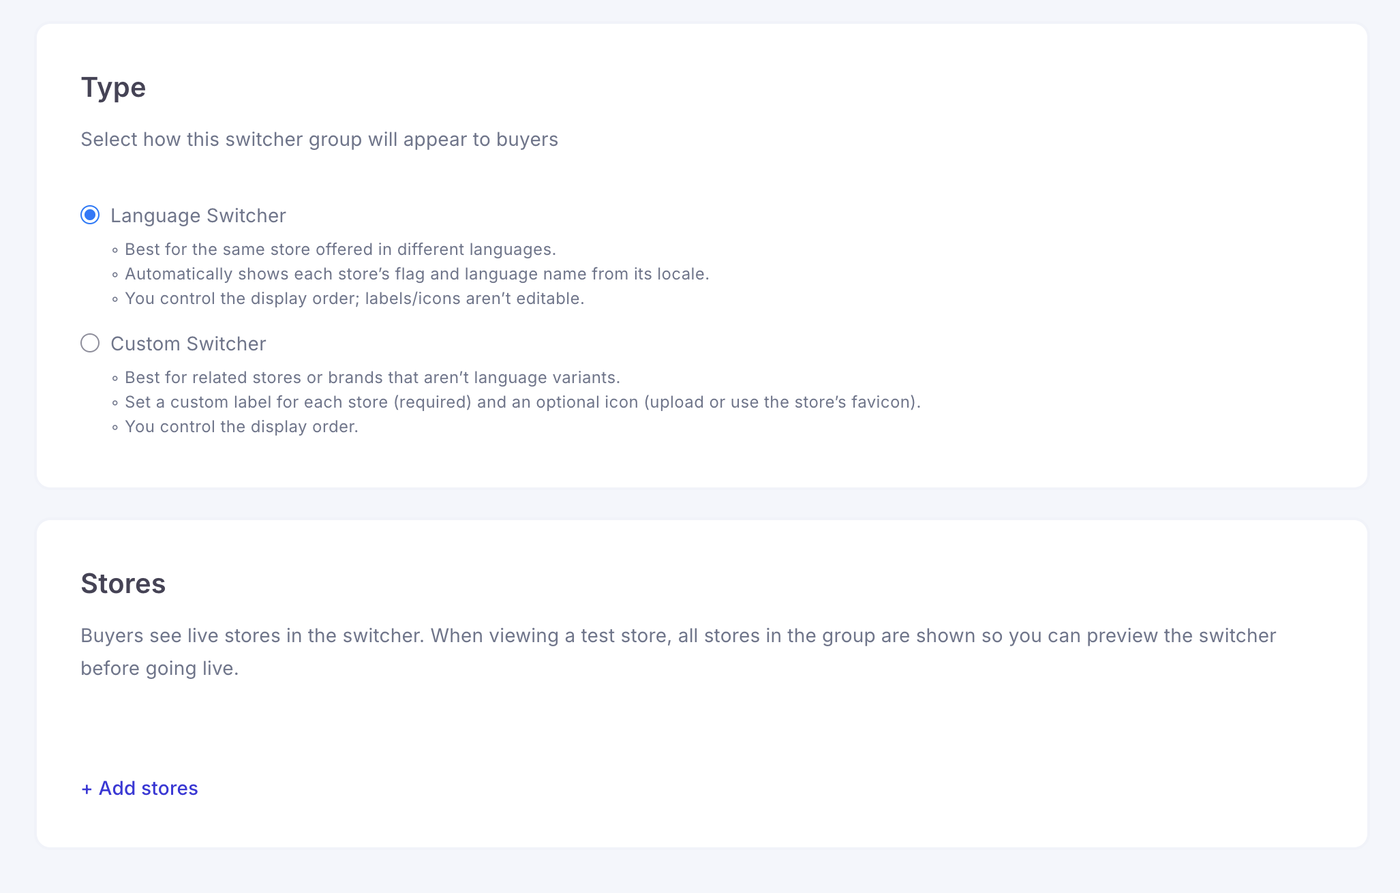
Language Switcher
Select Language Switcher when the stores are different language versions of the same storefront.
The switcher will automatically display the appropriate flag and language name based on each store’s locale.
You can change the order in which the languages appear, but the language names and flags cannot be edited manually.
Custom Switcher
Select Custom Switcher when connecting different stores, locations or brands.
You can:
Add a custom name for each store
Upload an optional icon
Use the store’s existing favicon as its icon
Control the order in which stores appear
A custom label must be added for each store.
Add stores to the group
Under Stores, select Add stores.
Choose at least two stores to include in the group, then select Add selected.
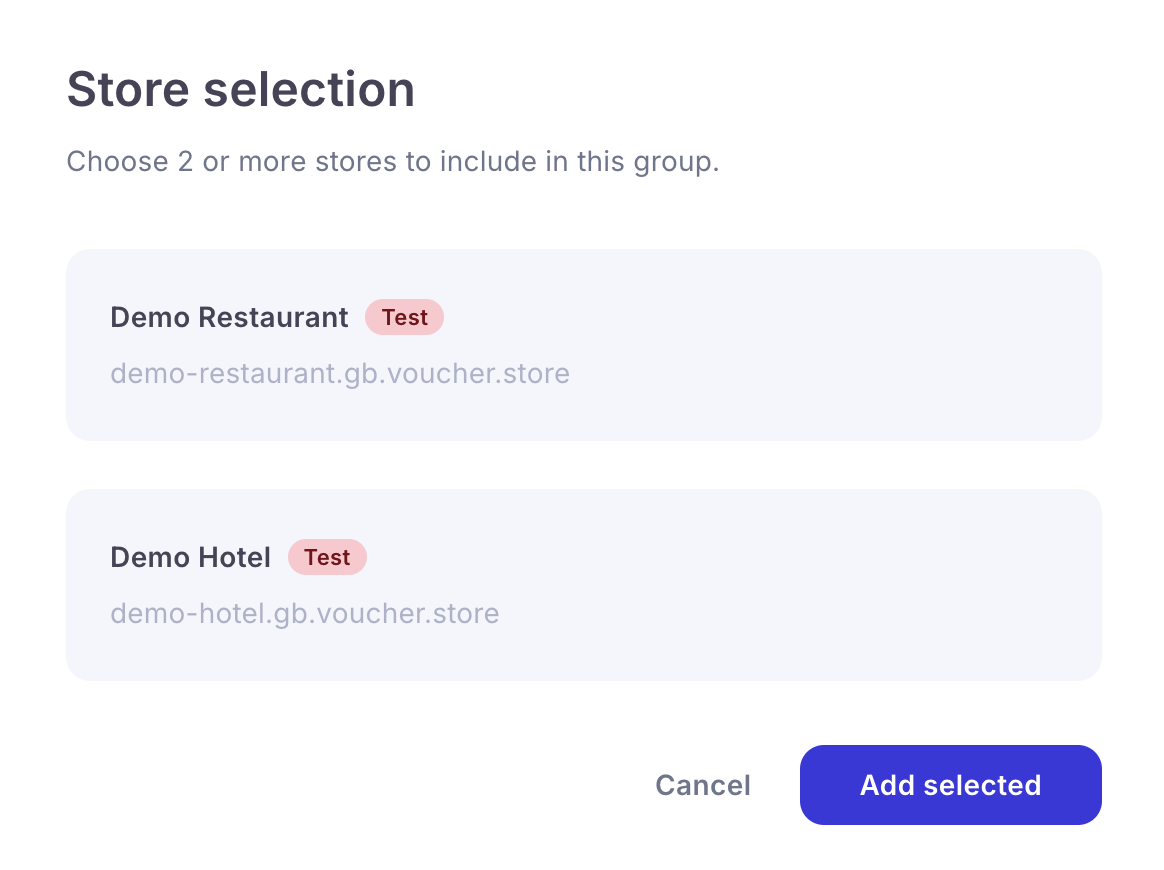
You can only select stores that belong to the same account. Test stores are clearly labelled during selection.
Once the stores have been added, arrange them in the order you would like customers to see them.
Save the group
Review your settings and save the group.
The Store Switcher will then appear on each live storefront included in the group, allowing customers to move between the available stores or languages.
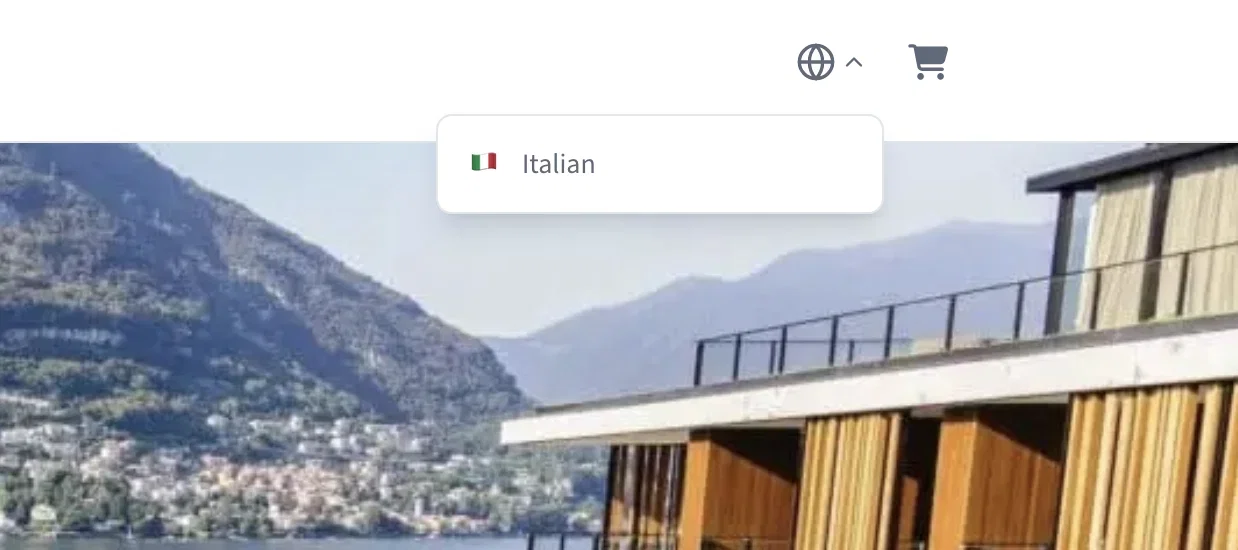
Customers can select the switcher at the top of the storefront and choose the store or language they want to visit.
Previewing with test stores
Customers will only see live stores within the switcher.
When viewing a test store, all stores in the group are displayed. This allows you to preview and test the switcher before making the stores available to customers.
Choosing the right switcher type
Use the Language Switcher when the stores contain the same offering in different languages.
Use the Custom Switcher when customers need to move between different:
Hotels or venues
Locations
Brands
Departments
Voucher collections